This is Birdie..a paperclay Giraffe girl....I cant tell weather she lis more girl or more Giraffe. She has jointed arms, a soft bodysuit torso and upper leg..and sculpted lower legs with sculpted shoes


 Oh, and her bees are made from Half .Cilla. A very cool air dry clay....its smooth and light and gives great detail...works so easily in a mold,,,, .its so weightless for accessories...it's my new favorite "stuff"

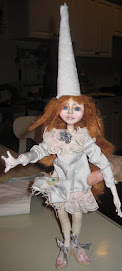
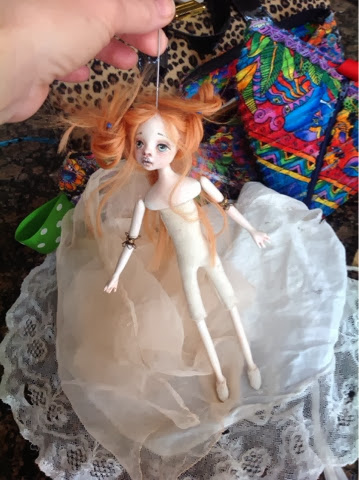
 This Little Old Soul is a ll all paperclay with joints that are jewelry pins fastened with tiny Vintage findings...a kind of circle of gems.....She is about 5 inches....I used many Vintage crystals, findings and pieces of lace and ribbon....I died her lace with distress Inks...one of my favorite ways to give a "Vintage worn look to fabrics....
 This is her older sister...created in the same manner...she has to bear all of the pain that they both have....But she is very good at it...because she does it with LOVE...
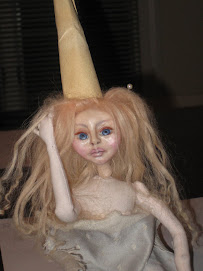


.jpg)