 |
| Original simple polymer sculpt with 2 paperclay "Copies" |

 |
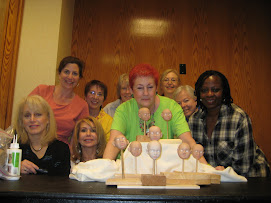
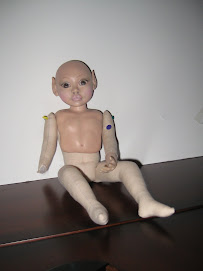
| 10 Heads and 20 arms! |
 |
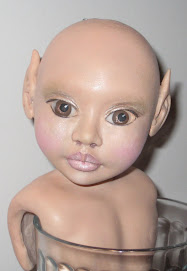
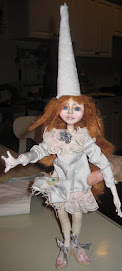
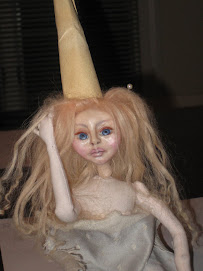
| Cindy Lou from the Grinch Movie |
 |
| Brush your mold with powder, smooth the paperclay into a thick disk |

Press the paperclay disk into the mold, Press in the foil "skull"
 |
| An easier start to a paperclay doll when creating a "Series" |
So it seems that I needed to just dive in and start my "Art Is" swap ornaments. They are due in August...but I know I am a huge procrastinator, and I am trying to change! HAHA. I put all my wire joint doll projects aside to at least start the swap...Now that I have the beginning of 10 Cindy Lou dolls from the "Grinch"......heads, and arms....I have gained momentum, I can actually breath a bit easier...
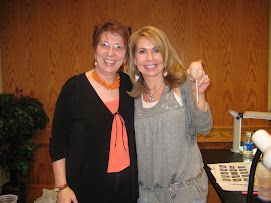
I knew this would be a lot of work...but the deal is, you make 9 swaps (I made an extra to keep!). When you get to Art Is and you receive your registration "packet", you also receive a package with 8 handmade ornaments (the 9th one goes to Marlene Halveron for The HoneyComb Cottage Project ) How exciting is this...to open 8 handmade gifts, and Know that one of my pieces of art will go to a beautiful human cause! Oh My Gosh! I cant wait..So I"m workin at it, every chance I get!
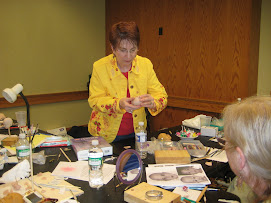
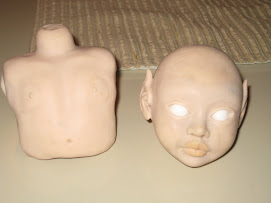
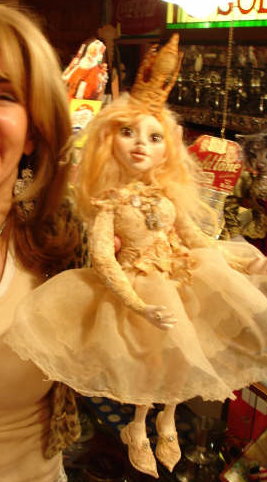
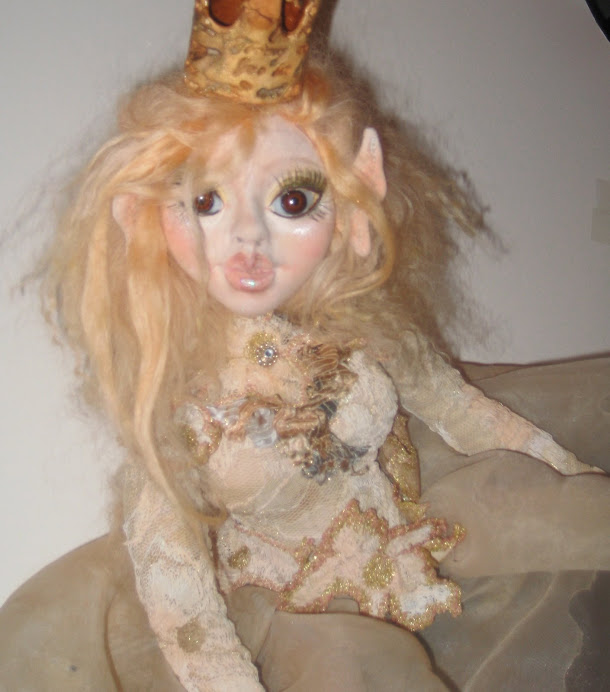
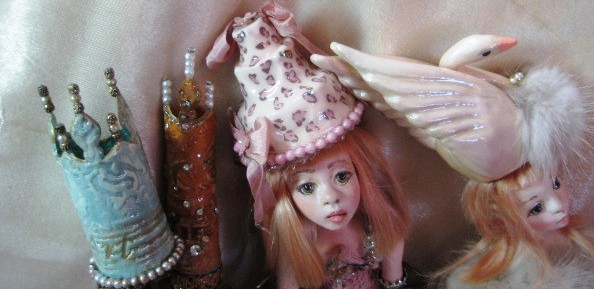
I am designing the dolls using a picture of Cindy Lou from the "Grinch Movie". This little character inspires me to try and remember to be loving and compassionate even under "not the best circumstances"... I sculpted one simple face from polymer, and then made a mold. This helps me to create 10 dolls a little quicker , for this type of Project. Now.... dont get me wrong...you cant just stick a wad of paperclay and pull it out of the mold and ...Wha lahh! you have a sculpted head! NO...it comes out pretty flat and there is work involved...but at least you have a start, to a doll (for me...the START is the Hardest part!!! ). From there I add bits of clay, building the face up and smoothing it out. AND Then....Its your original doll....you made the original face and mold...so there is No CHEATING involved!!! haha
 |
| Cuddling "Moon" while working on 10 faces! |
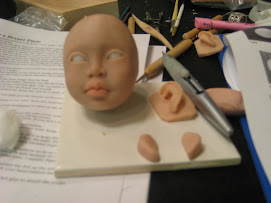
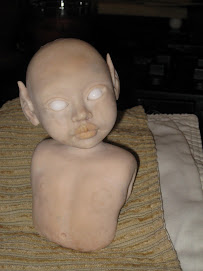
For the head...after lightly dusting the mold with powder, I smooth a piece of paper clay into a disk and fit it into the head mold. I then take a tiny foil "scull" on a piece of armature wire, and push it into the center of the mold (creating a nice solid armature), halfway down into the paperclay. I then pull the clay with the armature out of the mold, and add some more clay to create the back and top of the head, When I get the right shape, I start to add my details and let it dry. I am constantly adding wet clay to the already dry face, perfecting the details. I love the way you can take away and add to paperclay....and after sanding , smoothing and painting...no one really knows what you did, if you were in turmoil, if there is a "fix it" going on, they just see the end result!!!
So now that the heads are completed and smoothed, the arms are created but have to be refined.....then I will create the legs and then the neck/bodices...I think they mill have a ball joint swivel head. I'll have to see how it goes!
So now that the heads are completed and smoothed, the arms are created but have to be refined.....then I will create the legs and then the neck/bodices...I think they mill have a ball joint swivel head. I'll have to see how it goes!
 |
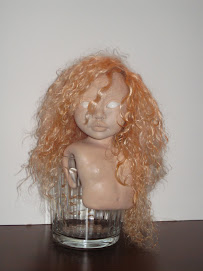
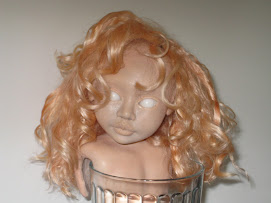
| Lot of "refining" work, But it"s a start! |