|
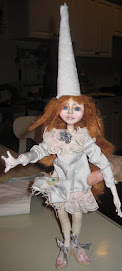
| December Babe Paperclay Doll |
 |
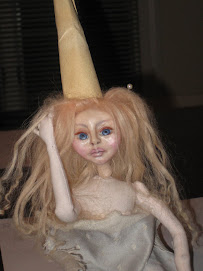
| Pink Leopard Cake Doll |
 |
| So Sad..she does not see her Beauty |
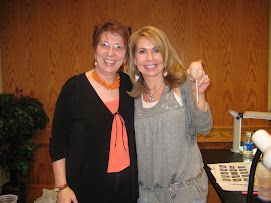
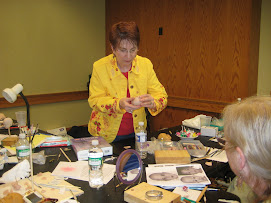
I 'm Feeling connected and working through a lot of dolls and Ideas...ok..2 down...a million more to go!!!
Anyway....The Pink Leopard Cake Doll has a funky little face and and I got to practice my favorite painting technique in Pink for her cake hat that was created from Pluffy clay!!! Leopard..i just love it! My good Friend and Teacher, Lillian Alberti, taught me how to paint Leopard Print... I am forever greatful. I also did her shoes the same print, and added Teeny tiny polymer roses...also a Technique taught to me by a good friend and teacher, Amber Dawn Inventive Soul! ...I think a girl should always have matching accessories....
 |
| Pluffy Snow Goose Hat |
 |
| Her dress and hat have tiny polymer flowers made with a kemper cutter |
 |
| Pluffy Cake Hat...the tiny beads are actually polymer clay created from a cool "fondant" mold...what'll they come up with next! |
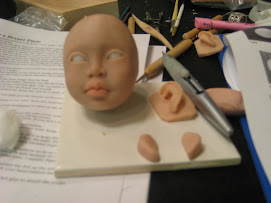
I also completed my little sad faced doll...she is my favorite...she is frail and skinny, quite sad..but I just have to Love her....something in her little face. She is a Winter girl...like me, a saggitarius...her name is December Babe and her hat is a SnowGoose made from pluffy clay and a cool candy mold! After I baked the goose..I carved her a little thinner and added paperclay to the bottom creating a cap do her head would fit...