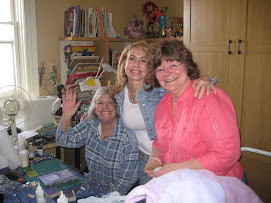
Create Clay Hats and Crowns!

Create  Clay Hats and Crowns!
Showing posts with label mixed media. Show all posts

Saturday, May 15, 2010

Tiny Polymer Mixed Media Doll Class...More Milo Files!


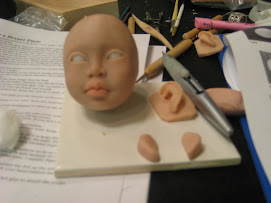
This Tuesday,  Our  "Secret" group met and created new "Milo files"......I had the pleasure of teaching the group my TINY Fairy Mixed Media dolls, but in Polymer  (most of my tiny dolls are paperclay).    Heather has sculpted, but never this tiny...and Doreen and Sue have never sculpted with polymer., both of them are new to dolls!    Everyone felt that they would do better in polymer.  I agreed that polymer takes detail easier, but PAPERCLAY CAN ALSO BE EASY IF YOU USE LESS DETAIL IN SCULPTING, AND USE MORE "PAINTERLY" DETAIL.   IN THE END, WHICH EVER MEDIUM YOU ARE WORKING IN.. IT IS EASY  AND FUN TO CREATE  A TINY MIXED MEDIA DOLL!!!!!
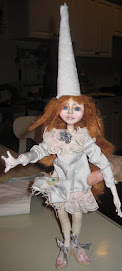
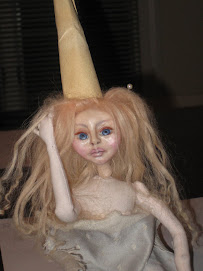
 These are the two dolls that I am working on with the class.  The larger one was the first doll created..and it literally "Crackled when I baked it.  I had such a hard time with the first batch of clay...after this happened ..I threw out the clay...maybe it was old!? I never ran into this before...so I started on the second one (to the left) and I like her much better, she is tinier and has nicer detail.  Maybe I will try and crackle that first doll as suggested by Heather! hmmm!  maybe she will work out after all! 


The crown was created for the second tinier doll...I 'll try and incorporate the vintage black and white Diamond design into her outfit. This picture doesnt show the correct color of the diamond design...It is worn out black and pearl white!
 I arrived at Sues with some sample dolls as a guide for size, and also a kit for each Person!  The kit contained the conditioned clay .... (I used Prosculpt with  Bisque Cernit mixed in for a soft yet blendable clay.), pre made foil head/bodice armatures, "SKIN" fabric, Prepared Silky Mohair, Eyelashes and Triple thick for glossing the eyes and lips, shoes...

Of course we had a little bit of "Christmas" first!!   Doreen made beautiful beaded bracelets for everyone...gifts of "Crafting items" were flying around  and Sues daughter Carol even stopped by and gave each of us a beautiful handmade Beaded ring!  What  an "INSPIRING" day!


Anyway,  after much Chattering about Techniques and Products  the class really went great!...and in a few hours everyone was able to bake their fairy head and bodice.  I showed them how, after baking...small changes can be made by carefully smoothing on a little clay and rebaking!  I usually use this technique to change the lips ,nose, or an uneven cheek  without it being visible.

Next Week we will create the arms, legs and soft body, and put the doll together.  Woohoo!  cant wait!

There are also some Pictures of the First part of this class, Tiny hats and crowns.  See the picture of everyones completed creations! WOW!


Tuesday, April 13, 2010

Mixed Media doll From the Milo Files!


This Sunflower girl is My Flat Doll. She is a mixed media doll made of fabric that was painted with acrylics, I added paperclay to the flat head, I crackled and stained parts of her, she has metal wings that were cut and textured on the sissix, then patina'd, and her arms are jointed with jewlery end caps treated with alchohol inks! Her skirt and bra are made from a piece of vintage lace that was literally "dissentegrating"...but I wanted to preserve its past...so I treated it with "Porcelain petal", then sprayed with a sealer...its delicate...but it is keeping the fabric "ALIVE" forever!!!   Her head has tiny polymer flowers that I cut out from my tiny cutters that i have in my ebay store...they were painted and stained...gems were added!


 So...the Milo files are stories from an"underground" creative group that I have joined...We meet on tuesdays and the creativity in the group lies in the "UNKNOWN"!!!...
You never know if it will be every Tuesday...or once or twice a month!  You dont know what you'll eat there...sometimes a can of soup....sometimes "homade Lasagne and meatballs....(Delicious! MMM!)  
 You dont know what the next project will be, and you NEVER know what you will GET there!!!

Theres creative goodies being passed around from all of the members...its almost like "christmas" on Tuesdays!!! haha!!!

BUT Seriously...a small group have been getting together and "JUST CREATING" at Sue Milo's house!   All Members Share their "specialties" and teach the group....!!!!


The First week, Doreen taught Soldering charms....The second week Sue taught the "flat Doll" that she made from a pattern from cloth, paper, scissors...    The beautiful flat dolls on the board were Sue's Creations that inspired this  class!  


This week was my week to teach "crowns"!!! We had a great day...and I will have pictures of the crown after out next "Secret meeting"! 

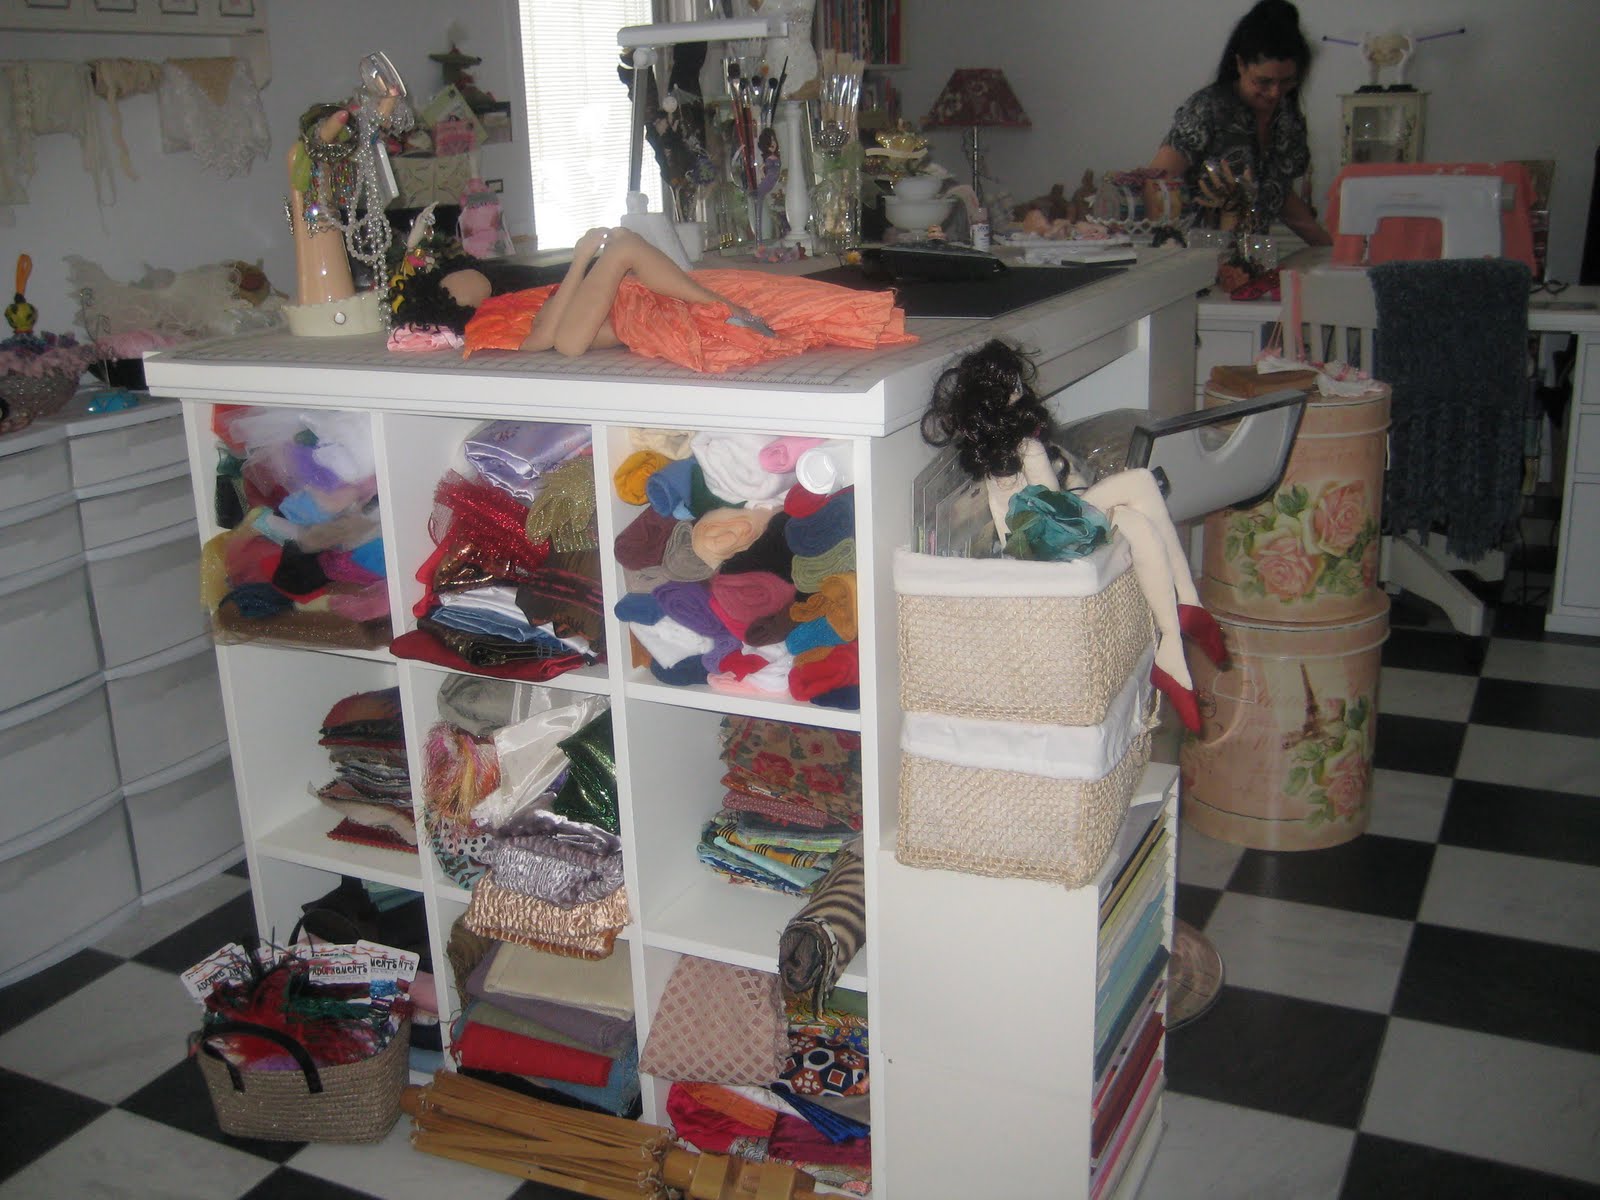
There is a shot of Sue's beautiful Studio...every thing is in its place..Really!!! Also, there is a picture of the sugar scrub that she created (PINK!!!) she made the labels too!! ...WOW!
It was a great day, that ended at Michaels finding new  TREASURES by   "Sculpey"  and Lisa Pavelka products!!!!   YEA!!!
Wednesday, January 27, 2010

Wings ...Day 2!


So I "Worked" on wings again today.  I went in many different directions...and failed a couple of times...but now I feel like I'm getting  "Some where else"!!!!


The rust thing worked so cool...In the morning...there were small rust spots on the wire that I treated last night...but I remembered reading ..Apply in thin coats...to get a heavier effect.  So I did one more coat...and I LOVE  what it looks like.  I now have a "Rusty old pair of wings" from a fairy that has been lost out in the elements for years and years!  I found this crinkled mat shimmer  type paper that was for making bows...cheap stuff... I glued it to the rusty frames and hit it with the heat gun...maybe because it was cheap...It  tightened smoothed in an instant..leaving those tiny crinkles all around the edges next to the wing frame, but remaining So Crystal Clear everywhere else! 

 I dont know if I really captured it in the pictures, but the wings look like rusty old window frames...with  that old looking glass that has "Frost" on the edges because its so "fridgid" out!  These are my favorite wings...because I keep seeing these old windows to some old forgotten place! 


Then I did a "shimmer" pair that I am pretty happy with...The frames were wired around a wing design that i took from a wing art cd printed on a clear plastic sheet (its 4 seperate wings wired together.... I then used Ranger Gold alcohol ink mixative to color the wire...It gives it a more Matte metallic look.  I used the sheets of angelina glued to the frame and "zapped" with heat!  Then metal findings were also colored with the gold after being attached.  I coated the wing with Triple thick closs coating.  After drying...I added gems...Actually its still not dry...I just had to finish them! hahah! 

NY wow

NY wow
dIANE kEELER CLASS

Diane Keeler Class

Diane Keeler Class
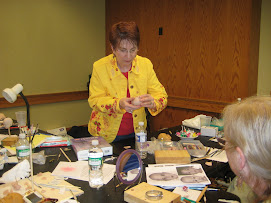
Diane Teaching

Diane Keeler class

Diane Keeler class
Class Picture

Sculpting a Childs face

Sculpting a Childs face
My face ..Day 2 ..ready for EARS!

Working on a new face now!!!

Working on a new face now!!!
Completed face and breastplate

Attached head to breastplate

Attached head to breastplate
The clay is very dirty..the cleanest i can get it!

After Face Make up

After Face Make up
WOW...it gives a translucent glow...hid the dirt!

Removable wig...not styled or cut yet

Removable wig...not styled or cut yet
Goat mohair that was dyed and combed

Now she's styled!

Now she's styled!
But it is a wig...it will be glued when i'm ready!!!

Painted Face...still needs brows and lashes!

Painted Face...still needs brows and lashes!
She will be sealed with Duncan flat mat as soon as it comes in the mail!

Cloth Pixie body fit under breast plate...

Cloth Pixie body fit under breast plate...
After drawing and sewing a million body parts....

Girly girl "21" charms

Girly girl "21" charms
Angelica's 21st birthday charms

Devon with his creation

Devon with his creation
Devon and his monkey boy

Devons Doll that he made from a pattern

Devons Doll that he made from a pattern
Monkey Boy

another charm group

another charm group
Debbies Charm

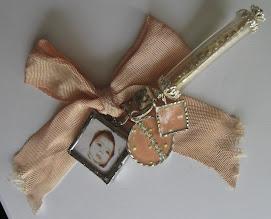
Leapord tube charm

Leapord  tube charm
The diamond shape is a soldered glass bead.

Wax medium melted over polymer clay face....

Wax medium melted over polymer clay face....
She's getting there..i think this hair suits her better..she needs eyelashes and ears

Odd Vintage bug- like Fairy

Odd Vintage bug- like Fairy
Just the idea

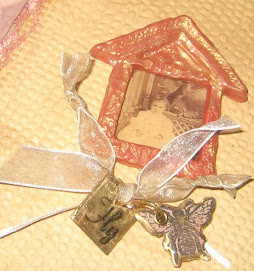
Clay Window glazed with Utee

Clay Window glazed with Utee
Stamped Utee glazed "Charms"

Clay Charms

Clay Charms
Making a mold from a charm to make more charms!

Charming

Charming
Clear tubing and stamped Utee

Charming!!! ....REALLY!!!

Charming!!! ....REALLY!!!
Soldered Vintage photos

Charming!!! ....REALLY!!!

Charming!!! ....REALLY!!!
Soldered Charms

Journal Day with Tery and Stephanie

Journal Day with Tery and Stephanie
Creating an Art Journal

Stephanies journal

Stephanies journal
of course..completed first!!

New Art Journal

New Art Journal
Journal made from SCRATCH!!!

Art journal EMBELLISHMENTS

Art journal EMBELLISHMENTS
Clay, Stamps, Utee

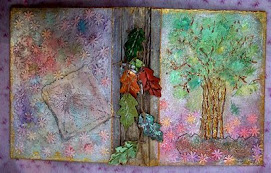
Inside cover

Inside cover
Material and free motion stiching

Celeste

Celeste

Celeste up close

Celeste up close
Celestes shirt is made from gessoed and tinted lace with free motion embroidery

EVA

EVA
She is with her new mom Evelyn