Create Clay Hats and Crowns!

Create  Clay Hats and Crowns!

Tuesday, April 17, 2012

Finally Moved In...NOW... Movin On with New Dolls! And a short face sculpting class at the Warwick NY Library!!!

Cupcake girl...Rose Fairy...Pea Pod Girl.....hmmm


Oh my gosh...the whole while I had to pack and move all my things to the shore house for good!!! (yay)....I just kept thinking of faces and textures....I was thinking...Col...you are losing it...but I guess when I cant do something...I just want to do it MORE!!!! haha...


Instead of clay bodies...these girls have a wire armature bodysuit BODY,,,,


Anyway...working on 3 new dolls and finally figured out who they will be... to get through them quicker because of "wasting time moving"....haha...priorities!.....I made original arms and legs then went for a MAKING A TWO PART MOLD OUT OF POLYMER...how EASY!!! was this!! and how much time did it save?? LOTS!!! Here are the easy steps to do this:


1. Soften your polymer clay...here I used super sculpey because its pretty soft and you get a nice impression.....make a neat block that is back enough for your item...in this case an arm...and a leg.


2. Press your item into the clay evenly..only HALF WAY. take your item out neatly, not moving the clay....


3. Bake that mold for 20 minutes...cool...and now put the item back in the mold.


4. make another neat block of soft clay...push it over the already baked mold with the item inside the mold...pressing your new clay so that it fits the baked piece...now flip the entire block over onto a tile that fits in your over...and carefully pull the already baked mold off of your fresh clay. If the item is stuck in the clay..carefully remove like you did with he first part and bake .


YOU NOW HAVE A PART MOLD THAT fits snugly together. Fill it with paper clay (dust the mold with a powdered brush and fill with paper clay. press the 2 parts together...pull apart...and remove. at this point i push my armature wire through (sometimes i leave the wire in the original so when i make the mold...there is an actual slot for the wire,,,and I lay the wire inside in the molding step.


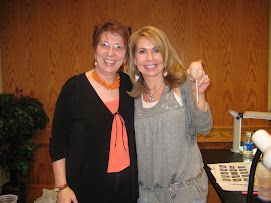
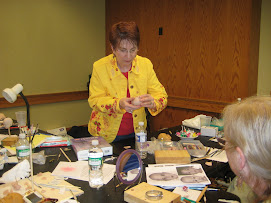
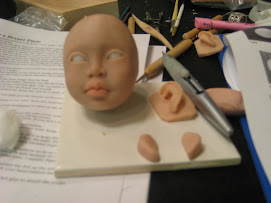
I also taught a 3 hour Face Sculpting Workshop at the Warwick NY library.  The Workshop was Sponsored by Artist LILLIAN ALBERTI for her new Area Doll Club.   The Workshop was a huge success with over 20 attendees...and Lillian and Heather Brauner assisted in teaching.  Every person created a beautiful face...and some of the ladies had never sculpted! 

Friday, March 16, 2012

Mermaid "Mechanics"


Rosie Paperclay Mermaid


Here are some Paper clay Memaid "Mechanics" pictures if you want to try one.  You can email me with any questions you may have on this technique @ taylormade4girls@yahoo.com.
 So Blogger will not allow me to put the pictures in my chosen order !@!@   Sooo frustrated....so I;m giving up on this post....Let's play....Try to figure out what picture goes where.... 


Ballet Mermaids torso with arms before tail
 

.

Fins with stamped paperclay

Step One of tail Fins wire and tape armature


Tail was stamped and painted then clay roses and gems were added ...


before final painting..adding roses and glossing tail

Tuesday, March 6, 2012

Rosie Mermaid ....


Rosie, a paperclay mermaid...

I taught Rosie Mermaid along with the blue mermaid in Florida at Annie Hesse s studio.!  WOW! what a beautiful work place to be in....
It was a perfect class, Heather Brauner helped me teach....and every student sculpted ,painted, and jointed her doll, and created and embellished the tails...amazing!   

Having problems with uploading pictures from my phone so this is all i have until i get it going again.  I do have the mermaid tail in some steps so that you can try at home!!!   

Saturday, January 28, 2012

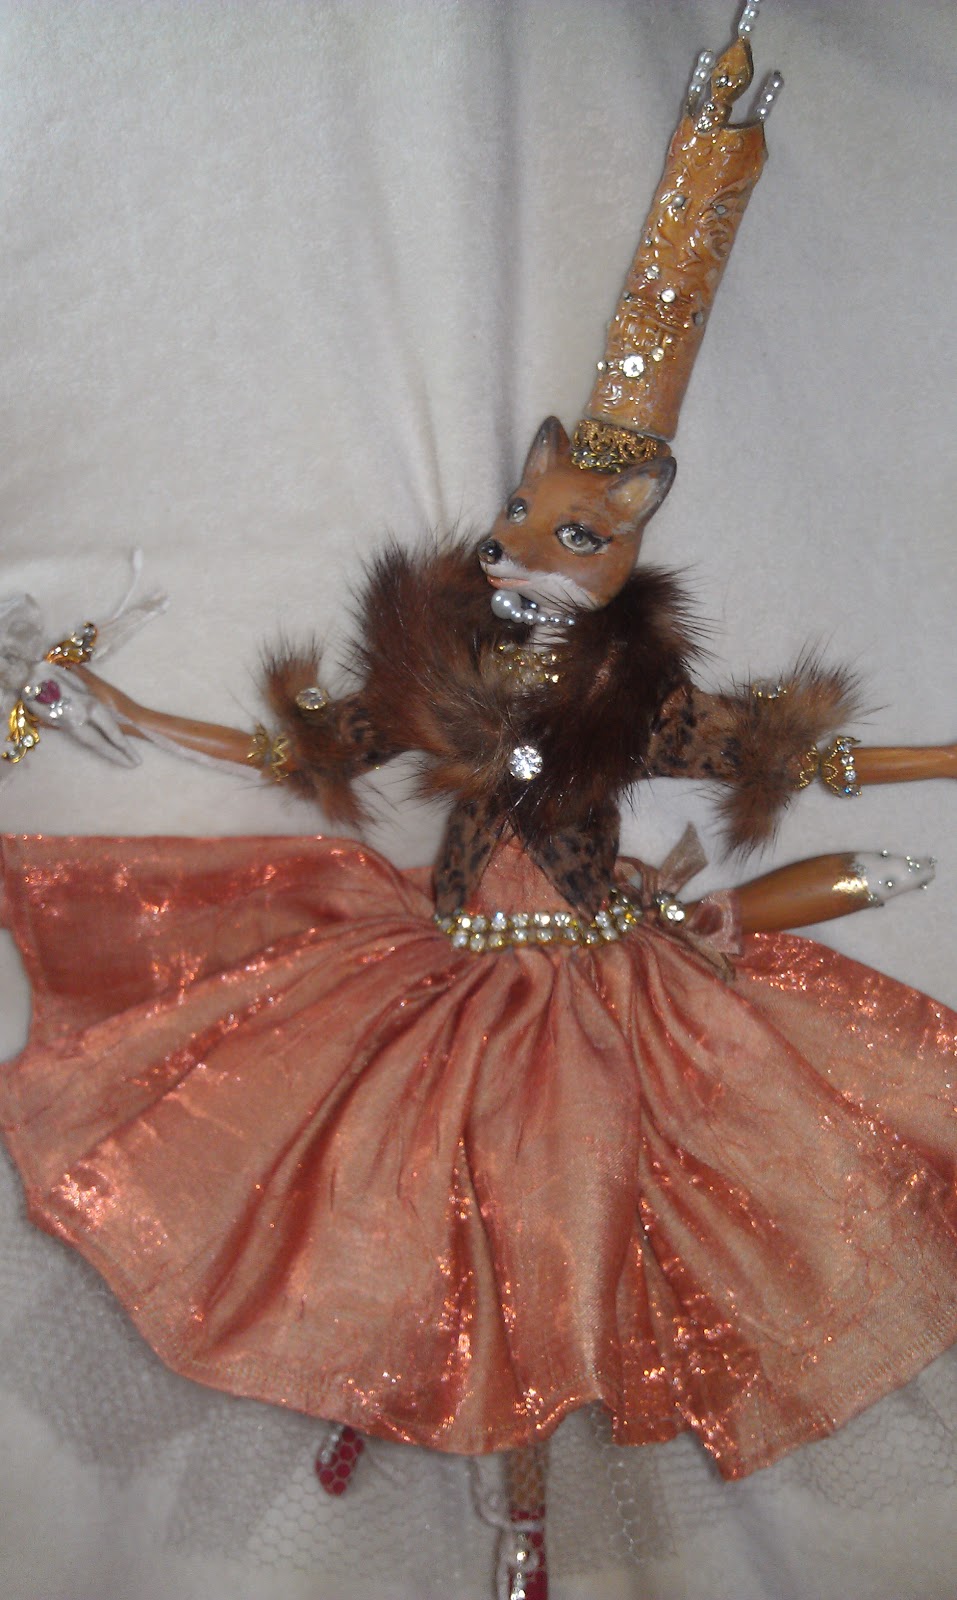
Art Is Fox Doll Workshop Done!!

Fox Dolly
Oh my gosh...so much pressure is lifted!!! ugh....I hate deadlines....I'm always "just making them"!!@!

Anyway.. the fox doll is complete... I end up really loving her.  For a while...she was being a "Brat" and not getting a personality...but she finally came "out".....

Add caption

She is about 8 inches and she has a sculpted Head, bodice, jointed upper arms, lower legs and tail. Her body and upper legs are a two way stretch bodysuit that I sew up on the machine.  This bodysuit fits over the wire armature with all paper clay pieces attached...and then lightly stuffed.

She is an animal dolly with human qualities....(because I believe animals have special qualities that help us see them as human. )  I chose a Fox because I want my Tale to be one of  decadence dripping with diamonds, luscious with leopard printed  leather and fur, daring with red shiny boots...and some Mysterious with an old frozen Charlotte in hand! This  Charlotte is actually a "fake out" from a tiny two part mold my friend Sue Milo made for me!  Lucky Me!!! I can now have a frozen Charlotte anytime I want! ha ha  and embellish and age it however I want. Life is truly amazing!


Thursday, January 12, 2012

New Year..New Hopes, Dreams and Dolls!


Every Dream is Worth Dreaming


Mermaid Ballet Slippers from Sof t Leather and Polymer Clay soles


Vintage Paperclay Mermaid


A "Fox Tale" .........Coming Soon!!

Sue Milos Master Molds!


Well...I guess I had to re coup from Christmas!  But I'm feeling Strong ..Energized and Excited for New Stuff to Happen!  There is a lot of New Creative Energy flowing...and I have Completed a Mermaid Doll!!! Of course Under pressure...because that is good for me!
Her tail is paper clay on a foil and wire armature that is jointed so it can bend. The design in the clay was created by pressing a stamp into the moist clay.  Paints and rub-ons were used to create depth...the it was glossed with triple thick. The joints were created with bead caps and findings.   I had to send the doll out and hopefully she will be in an Article.  I won't say anymore until it happens!!! haha
 (I hate rejection!).....


Sues "Many" Tiny Sweets!

Anyway....I went to visit my Friend Sue Milo and we both got crazy with creating tiny sweets...Finding special molds...clays...embellishments for toppings...blah blah blah...I cant wait to continue on my sweets making journey...But I Believe Sue went over the edge! haha...She made some beautiful original sweets..and she also went nuts creating her own molds....She is now the "Precision Master Mold Maker" in my book!!! Check her stuff out!

And last but not least...Is my ART IS You 2012 Class Project. She Is halfway there...The Class is written up and now She needs to Come Alive !  I know where I'm going with this....I hope she becomes who I want her to be ..sometimes these dolls are so stubborn...and refuse to cooperate...

Sunday, December 4, 2011

2 Done Dolls!!!!


December Babe Paperclay Doll

Pink Leopard Cake Doll


So Sad..she does not see her Beauty


I 'm Feeling connected and working through a lot of dolls and Ideas...ok..2 down...a million more to go!!!

Anyway....The Pink Leopard Cake Doll has a funky little face and and I got to practice my favorite painting technique in Pink for her cake hat that was created from Pluffy clay!!!    Leopard..i just love it! My good Friend and Teacher, Lillian Alberti,  taught me how to paint Leopard Print... I am forever greatful.  I also did her shoes the same print, and added Teeny tiny polymer roses...also a Technique taught to me by a good friend and teacher, Amber Dawn Inventive Soul! ...I think a girl should always have matching accessories....

Pluffy Snow Goose Hat


Her dress and hat have tiny polymer flowers
made with a kemper cutter


Pluffy Cake Hat...the tiny beads are actually polymer clay created from a cool "fondant" mold...what'll they come up with next!


I also completed my little sad faced doll...she is my favorite...she is frail and skinny, quite sad..but I just have to Love her....something in her little face.  She is a Winter girl...like me, a saggitarius...her name is December Babe and her hat is a SnowGoose made from pluffy clay and a cool candy mold!  After I baked the goose..I carved her a little thinner and added paperclay to the bottom creating a cap do her head would fit...

Pink Leopard painted print..tiny polymer roses...crystals...


Monday, November 21, 2011

So many new faces in my head.....


Almost ready for her face!
 

She is getting sanded and strung! She'll be painted with watercolors instead of acrylics


Choosing Colors

Ready for wigging..I think Red hair!


What will she be?

New Faces in  "first stage"  of refinement 

I just cant pinpoint a tail color for her....maybe if I wig her first..hmmm

  
So its the end of November...so many dolls to finish...by Christmas!  But new faces keep popping up in my head...and I have to keep stopping what I'm trying to complete...to just "Quickly " sculpt that face that I keep seeing....ugh....feeling crazy with this energy!  Does that ever happen to you?  I bet that it does...but I think sometimes we stop it from coming by trying to Follow THE RULES!!!!...  November and December  are always powerful months for me....I guess for most people too...Thanksgiving and Christmas.  This time is "Magical"..... sometimes overwhelming...but its always"Exciting"....  and Dec is also my Birthday...a double whammy of energy and focusing on what I "Want" and what I "have" to do!  haha
Anyway...here are some dolls that absolutely must get completed!!!  One will be going to Holland to my Over the top...talented friend Marijke van ooijen....she's gotta be "real special"!!!    And another is going to Totowa NJ..to my good friend Alison.  I grew up with Alison...and when I was 15 she was in a very bad car accident...I made her this plaster decoupaged book with a little girl in it...and 35 years later...she still has it!  Sometimes friends are there to remind us of our future dreams and our "now" accomplishments...A never ending story!

So I am also working on an etsy shop where I will sell some dolls and also some sculpting tools and tutorials....Time...hmmm..I guess I'll figure it out as I go along....no big plan!  haha (Not that there really is ever a big plan....)
Start of some tiny candies....

NY wow

NY wow
dIANE kEELER CLASS

Diane Keeler Class

Diane Keeler Class
Diane Teaching

Diane Keeler class

Diane Keeler class
Class Picture

Sculpting a Childs face

Sculpting a Childs face
My face ..Day 2 ..ready for EARS!

Working on a new face now!!!

Working on a new face now!!!
Completed face and breastplate

Attached head to breastplate

Attached head to breastplate
The clay is very dirty..the cleanest i can get it!

After Face Make up

After Face Make up
WOW...it gives a translucent glow...hid the dirt!

Removable wig...not styled or cut yet

Removable wig...not styled or cut yet
Goat mohair that was dyed and combed

Now she's styled!

Now she's styled!
But it is a wig...it will be glued when i'm ready!!!

Painted Face...still needs brows and lashes!

Painted Face...still needs brows and lashes!
She will be sealed with Duncan flat mat as soon as it comes in the mail!

Cloth Pixie body fit under breast plate...

Cloth Pixie body fit under breast plate...
After drawing and sewing a million body parts....

Girly girl "21" charms

Girly girl "21" charms
Angelica's 21st birthday charms

Devon with his creation

Devon with his creation
Devon and his monkey boy

Devons Doll that he made from a pattern

Devons Doll that he made from a pattern
Monkey Boy

another charm group

another charm group
Debbies Charm

Leapord tube charm

Leapord  tube charm
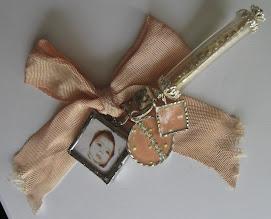
The diamond shape is a soldered glass bead.

Wax medium melted over polymer clay face....

Wax medium melted over polymer clay face....
She's getting there..i think this hair suits her better..she needs eyelashes and ears

Odd Vintage bug- like Fairy

Odd Vintage bug- like Fairy
Just the idea

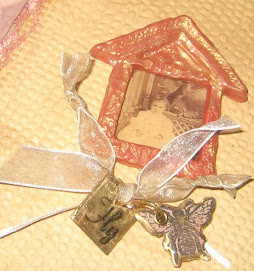
Clay Window glazed with Utee

Clay Window glazed with Utee
Stamped Utee glazed "Charms"

Clay Charms

Clay Charms
Making a mold from a charm to make more charms!

Charming

Charming
Clear tubing and stamped Utee

Charming!!! ....REALLY!!!

Charming!!! ....REALLY!!!
Soldered Vintage photos

Charming!!! ....REALLY!!!

Charming!!! ....REALLY!!!
Soldered Charms

Journal Day with Tery and Stephanie

Journal Day with Tery and Stephanie
Creating an Art Journal

Stephanies journal

Stephanies journal
of course..completed first!!

New Art Journal

New Art Journal
Journal made from SCRATCH!!!

Art journal EMBELLISHMENTS

Art journal EMBELLISHMENTS
Clay, Stamps, Utee

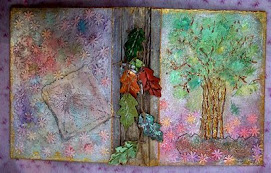
Inside cover

Inside cover
Material and free motion stiching

Celeste

Celeste

Celeste up close

Celeste up close
Celestes shirt is made from gessoed and tinted lace with free motion embroidery

EVA

EVA
She is with her new mom Evelyn